Last updated November 21, 2026
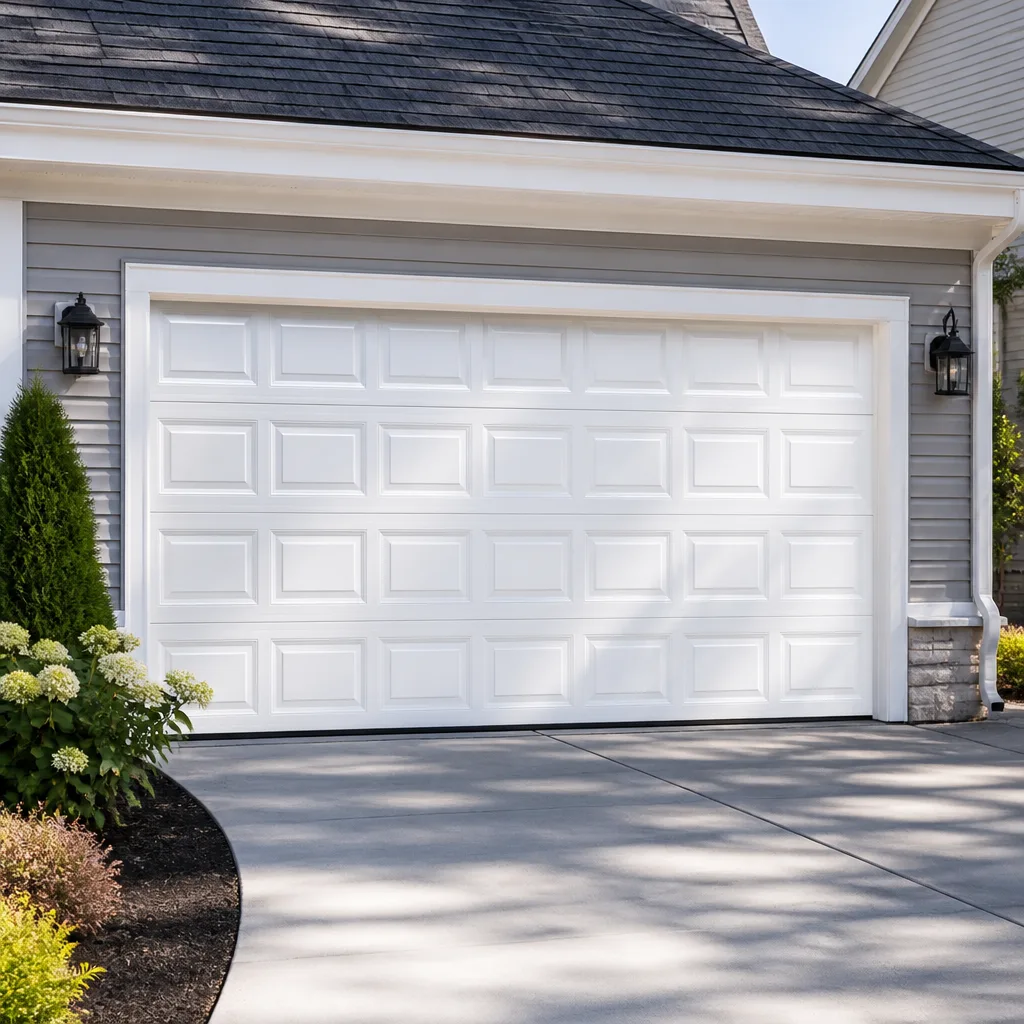 Raised-panel steel
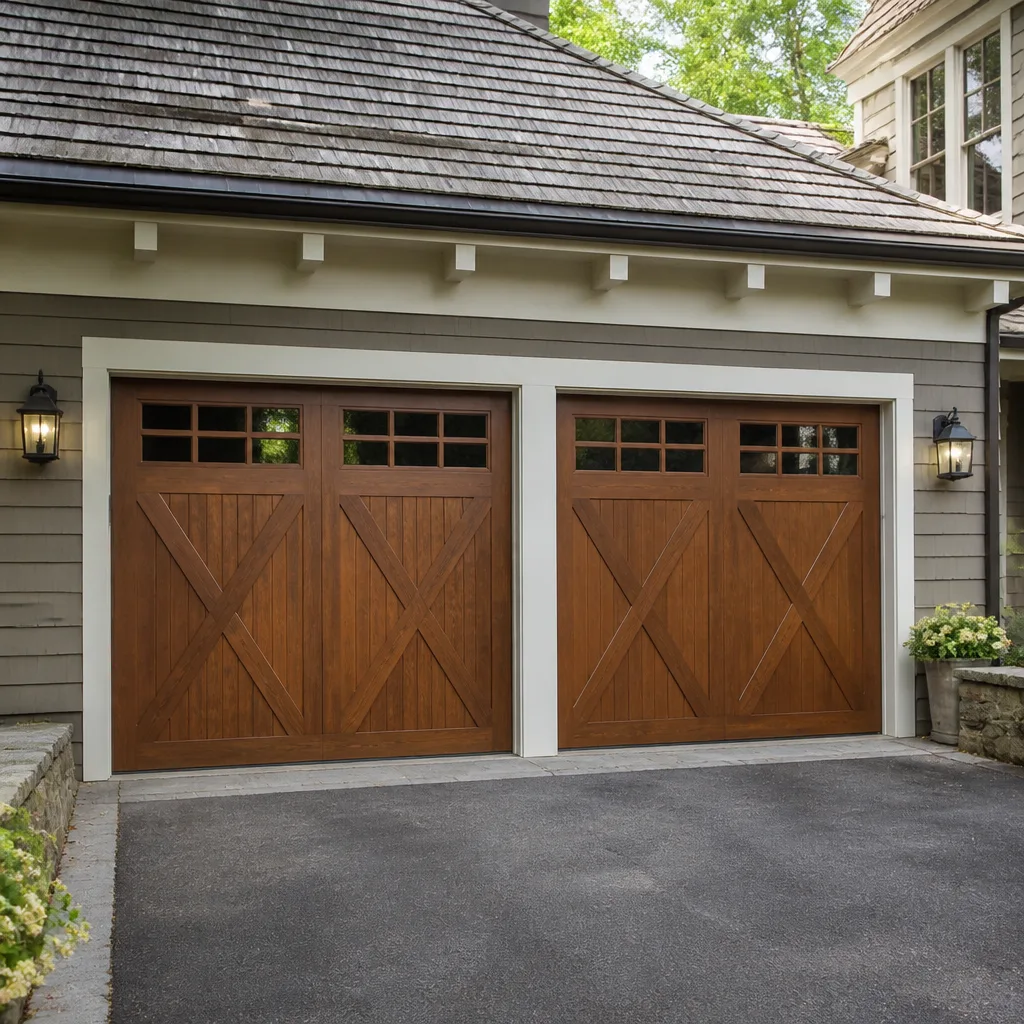 Carriage house
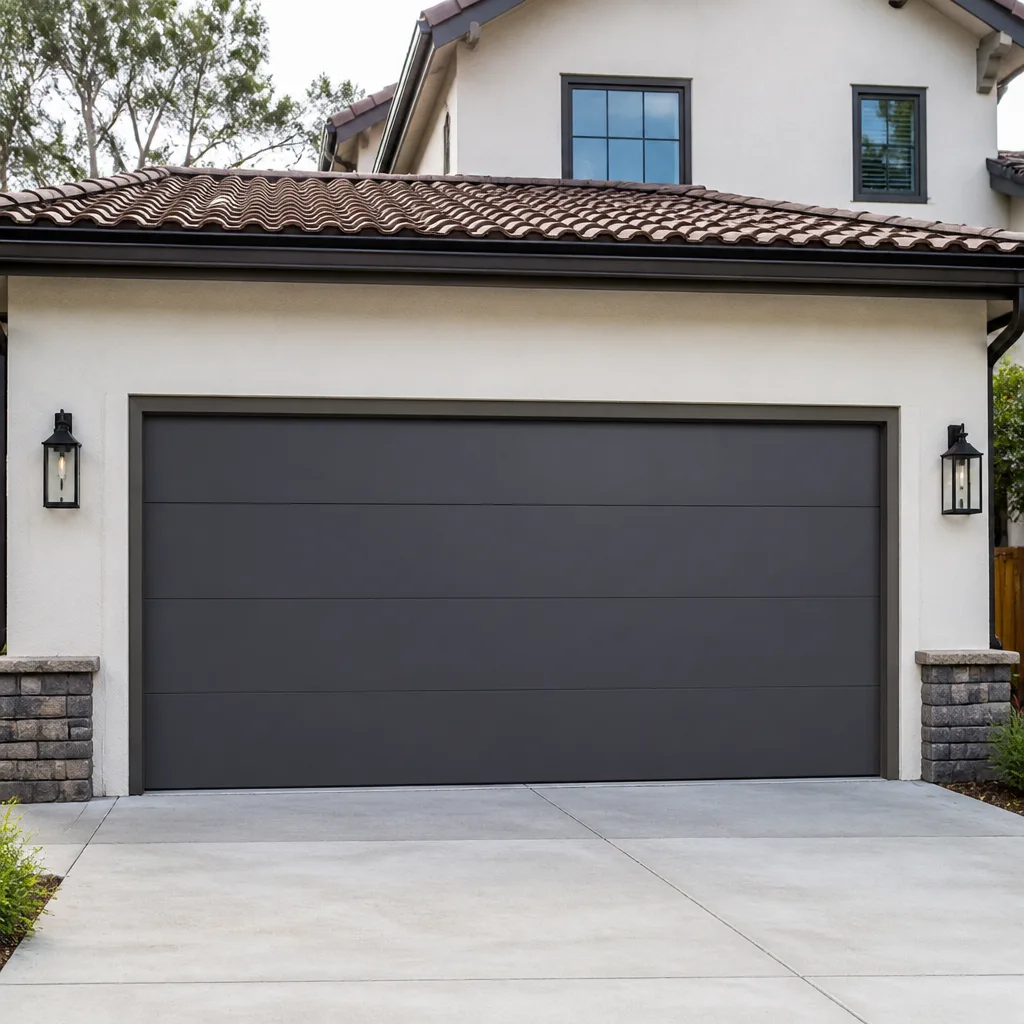 Modern flush
 Full-view glass
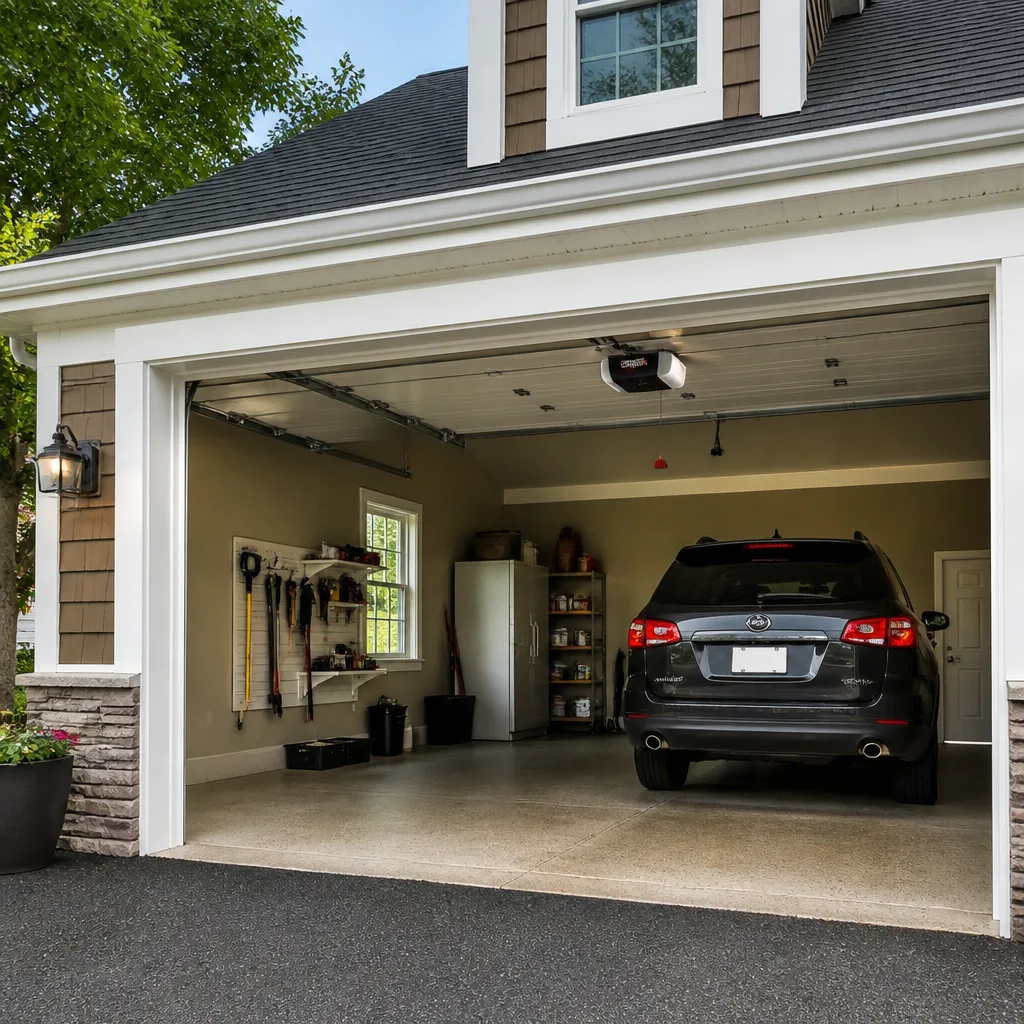 LiftMaster openers
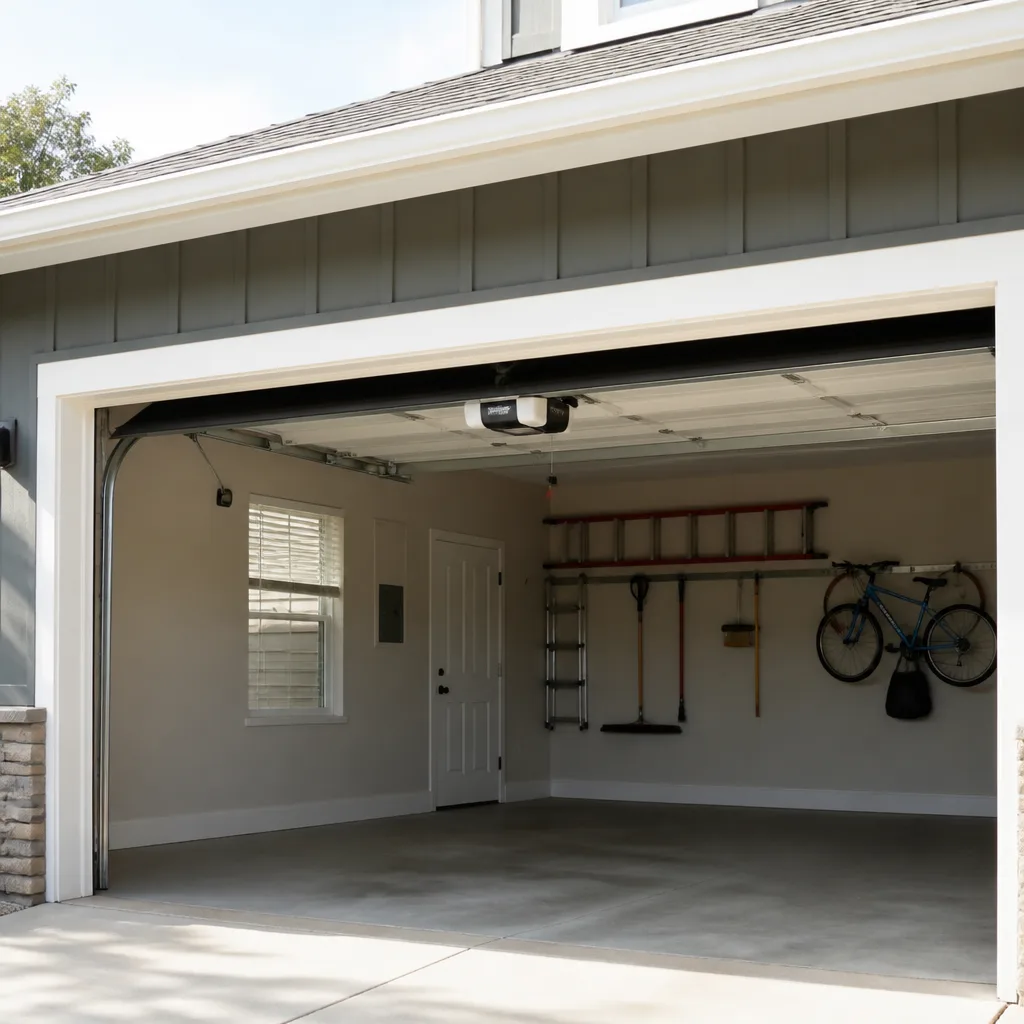 Chamberlain openers
Full 25-point door and opener safety check with every visit - springs, cables, rollers, tracks, and your LiftMaster or Chamberlain opener included
You get a price before we start. It does not change when the pro arrives.
Get your free estimateDIY vs Professional Garage Door: The Northgate Homeowner’s Decision Guide
Here’s the distinction most guides get wrong. Replacing rollers on a door whose springs are fully released is one job. Winding a new torsion spring onto a shaft is a different job entirely, and it’s the one that sends people to the emergency room. The line between what’s sensible for a homeowner and what belongs to a trained technician isn’t drawn by how handy you are. It’s drawn by tension. A wound torsion spring holds enormous stored force, and any task that touches that force has to be handled by someone with the tools and training to control it. What follows maps the decision task by task, so you know exactly which jobs you can take on in your own Northgate garage and which ones should stay with a specialist.
Quick Answer
Some garage door work is genuinely homeowner-appropriate: photo-eye alignment, bottom seal replacement, opener remote programming, and lubricating hinges and rollers on a fully released door. Other work is professional-only regardless of how confident a video makes you feel: torsion and extension spring replacement, cable re-spooling on a tensioned drum, and any repair that requires the door to be wound or unwound. The dividing line is spring tension, not general skill, and knowing which side of it any given task sits on is the entire decision.
Styles & brands we work with
- Raised-panel steel
- Carriage house
- Modern flush
- Full-view glass
- LiftMaster openers
- Chamberlain openers
Table of Contents
- Why the DIY line is drawn by spring tension, not skill
- Tasks that are professional-only, regardless of confidence
- The legitimate DIY scope: what you can safely do yourself
- The partial-DIY path: splitting the job to save cost
- Tool and parts access: why the big-box spring is often wrong
- Warranty and insurance: the paperwork side of DIY
- Opener installation: where DIY most often backfires
- A task-by-task decision matrix for Northgate homeowners
Why the DIY Line Is Drawn by Spring Tension, Not Skill
Garage door springs are energy storage devices. A torsion spring mounted above your door is wound during installation to counterbalance the door’s weight, and that stored energy is what lets a 150-pound door rise with one hand. When the spring is properly wound, it holds significant force. When it breaks, that force releases suddenly and loudly, which is why a broken spring often sounds like a gunshot from the garage. The spring itself is the hazard. The panels, tracks, hinges, and rollers are not, in and of themselves, dangerous when the tension has been safely removed.
That’s the whole framework. Any task that requires you to add or release spring tension is a job for a trained technician. Any task that happens on a door with the tension already released, or that doesn’t touch the spring system at all, is fair game for a careful homeowner. The confusion comes because both categories live under the same roof in the same garage. A homeowner who just successfully re-aligned a photo eye may feel the same confidence minutes later while facing a snapped spring, and those two situations share nothing in terms of risk.
In Northgate, we see this play out seasonally. The wet months put more load cycles on doors as people park inside instead of on the street, and springs that have been quietly aging through the dry stretch tend to let go when the door is used more. The spring doesn’t care how experienced you are with tools. It only cares about the torque on the shaft, and getting that wrong is how people get hurt.
If you want a starting point for the repair side of things, our garage door repair page covers the common calls we get and how each one is handled. But read the rest of this guide first, because it will tell you whether your problem is one you can sit out or one you should hand off.
Tasks That Are Professional-Only, Regardless of Confidence
These are the jobs where the stored energy in the spring system is in play. No amount of video watching, borrowed tools, or mechanical intuition changes the fact that an uncontrolled release can break bones or worse. We treat every one of these as a professional-only task, and so should you.
- Torsion spring replacement. Torsion springs are mounted on a shaft above the door and require winding bars to load and unload tension. A wrong turn can release the full force of the spring into the winding bar, the shaft, or your hands. This is not a job to attempt with a socket wrench or a screwdriver, and there’s no overstating that.
- Extension spring replacement. Extension springs run along the horizontal tracks and are equally dangerous. Replacing one requires safely de-tensioning the system, and the safety cables that should be threaded through the springs are there for a reason. Skip them and a failed spring becomes a projectile.
- Cable re-spooling on a tensioned drum. The lift cables are under the same tension as the springs. If a cable has jumped its drum or come off a pulley, the door needs to be de-tensioned before anything is touched. Re-spooling by hand while the system is loaded is a classic way to lose fingers.
- Any repair that requires winding or unwinding. If the fix means turning a winding cone or adjusting spring tension, it’s a pro job. That includes situations where a door is out of balance, hanging crooked, or landing hard, because those symptoms usually trace back to spring tension.
- Track straightening after a major impact. A bent track is often accompanied by stressed cables and springs. Straightening the visible metal without addressing the underlying tension is how a small problem becomes a much larger one.
Spring replacement is a safety job, not a DIY fix. If your door has snapped a spring, don’t run it with the opener to see if it still works. Don’t try to lift it manually. Leave it down, keep the car where it is if it’s inside, and call a specialist. For Northgate homeowners dealing with a broken spring, that call is the fastest path back to a working door, and the topic is covered in depth on our Garage Door Repair Northgate page.
The Legitimate DIY Scope: What You Can Safely Do Yourself
Plenty of garage door maintenance is well within reach for a homeowner with a step stool and a Saturday morning. The trick is to keep these tasks strictly separate from the tension work. Here’s what we consider genuinely homeowner-appropriate, with the caveat that every one of them assumes the door is in a safe, stable state to begin with.
- Photo-eye alignment. The two small sensors at the base of the door frame stop the door from closing on a person or object. If the door reverses for no reason or refuses to close, the eyes are misaligned or blocked roughly nine times out of ten. Wipe the lenses, check that the indicator lights are solid, and nudge each sensor until the beams line up. This is safe, quick, and needs no tools beyond a screwdriver to loosen the bracket.
- Bottom seal replacement. A cracked or flattened bottom seal lets water, leaves, and cold air into the garage. With the door fully open and the spring tension released at the opener, you can pull the old seal out of its channel and slide a new one in. Measure the width, match the profile, and take your time.
- Opener remote programming. Pairing a replacement remote or a new keypad is a matter of following the brand’s pairing sequence. LiftMaster and Chamberlain models use a learn button on the motor head, while Craftsman and Genie units have their own procedures. If you’ve lost the manual, the brand’s support documentation covers it.
- Lubricating hinges and rollers. A dry door is a noisy door. With the door in the down position and the opener disconnected, apply a garage-door-specific lubricant to the hinges, roller stems, and the torsion shaft bearings. Don’t use WD-40 as a lubricant here; it attracts dust. A proper white lithium or silicone spray is what you want.
- Visual inspection. A few minutes with a flashlight twice a year catches most problems early. Look for frayed cables, springs with a visible gap, loose hinges, dented panels, and worn rollers. You’re not fixing anything, just deciding whether to call.
If you’re managing a door in an older Northgate home, where the hardware may have been installed decades before you moved in, a visual inspection is the single most useful habit you can build. Old hardware isn’t automatically a problem, but old hardware that nobody has looked at in years usually is.
The Partial-DIY Path: Splitting the Job to Save Cost
Not every job is all-or-nothing. Some homeowners want a new door but are happy to do the labor-adjacent parts themselves, and that split can reduce the total cost without compromising safety. The most common version we see is the homeowner who removes the old door panels and hauls them away, while a technician installs the new panels, tracks, and hardware. That’s a legitimate way to divide the work, because the removal is straightforward once the spring tension has been professionally released, and the install is where the precision matters.
Here’s how a partial-DIY new-door project typically breaks down:
- Professional measure and spring release. A technician measures the opening and the headroom, confirms the door weight, and de-tensions the existing spring system. This is the step that makes the rest safe.
- Homeowner removes old panels and disposes of them. With the tension released and the tracks cleared, the panels lift out of the hinges. Haul them to the transfer station or arrange a pickup. Many Northgate homeowners do this over a couple of afternoons.
- Professional installs the new door. New panels, new tracks, new hinges and rollers, and a correctly matched spring for the new door weight. This is where the balance and safety of the finished door are set.
- Professional tunes and tests. The door is run through its full travel, the opener is re-traveled if needed, the safety reverse is verified, and the balance is checked.
What we don’t recommend is a homeowner trying to save a few dollars by having a technician install the panels while they handle the spring. That reverses the split in exactly the wrong direction. If you’re considering a new door, our garage door installation page explains the measurement and spring-matching process in more detail, and it’s the right place to start before you decide how much of the job to take on yourself.
Tool and Parts Access: Why the Big-Box Spring Is Often Wrong
This is where a lot of well-intentioned DIY plans quietly fall apart. A torsion spring isn’t a one-size part. It’s specified by wire gauge, inside diameter, and door weight, and the correct configuration for your door is not the same as the one on the shelf at a home center. Walk into a big-box store and you’ll typically find a couple of generic springs. Your door might need something entirely different.
The detail that matters most is the winding configuration, which tells you how many coils the spring has and in which direction it winds. That’s matched to the weight of your specific door and the drum size on your shaft. Get it wrong and you end up with a door that won’t balance, a spring that binds, or a system that wears out in a fraction of the time it should. The cone color code on the end of the spring is a visual indicator of the spring’s size and winding direction, and mismatching it is a common reason a hardware-store spring doesn’t work.
- Wire gauge determines spring strength. A door with a heavier build needs a thicker wire, and a lighter door needs a thinner one. Buying a “standard” spring means guessing at the weight of your door.
- Inside diameter has to match your shaft. Too loose and the spring slips; too tight and it binds. There’s no universal size.
- Winding direction is left- or right-hand, and the two ends of a torsion system are wound opposite each other. A single replacement spring bought without checking the direction is a coin flip.
- Length and coil count set the number of turns the spring needs to balance your door. That’s a calculation, not a guess.
This is one of the practical reasons we stock and supply garage door parts directly rather than relying on a third-party order. Our technicians are factory-familiar with the major brands, including Wayne Dalton, Craftsman, and LiftMaster, which means we’re matching your door to the part it was designed for, not settling for whatever’s on the shelf. When a spring is the wrong specification, that mismatch is exactly the kind of thing that shows up six months later as a door that won’t stay balanced.
Warranty and Insurance: The Paperwork Side of DIY
The mechanical risk gets most of the attention, but there’s a second risk that only shows up after the job is done. DIY work can affect your manufacturer warranty and your homeowner insurance in ways that aren’t obvious at the time. This is worth understanding before you start a repair, because it’s much easier to preserve a warranty than to restore one that’s been voided.
On the warranty side, most garage door and opener manufacturers require installation by a qualified technician to keep the parts warranty intact. Opener installation is the most common example: the motor head, rail, and safety system need to be installed and tuned correctly, and a self-installed unit that fails can be denied coverage because the manufacturer can point to unqualified installation. Door hardware can work the same way. A spring or track failure that traces back to an improper install is a warranty conversation you don’t want to have.
On the insurance side, many Washington homeowner policies treat self-performed structural repairs differently from work done by a trade professional. The exact language varies by policy, and we always recommend calling your agent with the specifics before you take on anything that touches the structure of the door or its mounting. The key question is whether your policy requires professional completion for structural repairs, and that’s a question only your insurer can answer for your specific coverage.
There’s also the matter of disclosure. If you sell a Northgate home with a self-installed opener or a DIY spring replacement, you may need to disclose it, and a buyer’s inspector will usually flag work that doesn’t look professional. Keeping a record of who did what is worth the small effort. If you’d like a technician to inspect work you’ve already done, our garage door opener repair team can check an opener install and confirm the safety reverse is functioning correctly.
Opener Installation: Where DIY Most Often Backfires
Openers are the most commonly self-installed part of a garage door system, and they’re where a lot of the warranty and safety problems originate. The install itself looks straightforward: hang the motor, run the rail, mount the bracket above the door, wire the wall control, pair the remotes. The parts that actually matter are the ones most homeowners skip or rush.
Three things have to be right for an opener to be safe. First, the travel limits need to be set so the door closes fully against the floor without crushing the bottom seal and opens fully without straining the rail. Second, the force settings need to be tuned so the door reverses on contact with a reasonable obstruction. Third, the safety reverse test has to be run, both with the photo eyes and with a physical obstruction. If any of those is off, the opener is a hazard, not a convenience.
There’s also the matter of matching the opener to the door. An opener sized for a light door will struggle with a heavy one, and the reverse-force settings can’t compensate for a spring system that’s out of balance. In our experience, a large share of “my opener is broken” calls trace back to a door that’s out of balance or a spring that’s lost tension, not a failed motor. If the opener is straining, the door is usually the real problem.
Newer units add smart-home connectivity on top of that, and pairing them with a home network or a phone app is a step where a small mistake can lock you out of your own remote for an afternoon. If you’re planning an opener install and want it done right the first time, a professional install also preserves the parts warranty we mentioned earlier, which is a real cost to weigh against the savings.
A Task-by-Task Decision Matrix for Northgate Homeowners
Here’s the whole framework in one table. Use it as a quick reference the next time something on your door needs attention.
- Photo-eye alignment – DIY. Safe with basic tools, no tension involved.
- Bottom seal replacement – DIY. Door open, tension released, no spring contact.
- Remote and keypad programming – DIY. Follow the brand’s pairing steps.
- Lubricating hinges, rollers, and bearings – DIY. Door down, opener disconnected.
- Visual inspection – DIY. Twice a year, with a flashlight.
- Torsion spring replacement – Professional only. Spring tension is stored energy.
- Extension spring replacement – Professional only. Same reason, different geometry.
- Cable re-spool or replacement – Professional only. Cables are under spring tension.
- Track straightening after impact – Professional only. Tension and alignment are both in play.
- Opener installation – Professional recommended. Warranty and safety settings both matter.
- Full door installation – Professional, with a possible partial-DIY split on removal.
- Panel replacement – Professional for the install, homeowner for the old panel disposal.
If your task sits in the professional-only column, don’t treat that as a sales pitch. Treat it as the reason the column exists. The energy stored in a wound spring doesn’t distinguish between a homeowner and a technician; the only thing that changes the outcome is training, tools, and knowing exactly how much tension is on the shaft before you touch it.
Common Mistakes to Avoid
- Running the opener on a broken spring. The motor will try to lift a door with no counterbalance, which strains the opener, the rail, and the door itself. Leave it down and call a specialist instead.
- Buying a spring off the shelf without checking the winding configuration. A spring that doesn’t match your door weight and drum size won’t balance the door, and it can fail early. Match the wire gauge, inside diameter, and cone color code, or let a technician do the match.
- Using WD-40 as a door lubricant. It’s a solvent, not a lubricant, and it attracts dust that turns into grit in the hinges. Use a garage-door-specific spray.
- Skipping the safety reverse test after an opener install. A door that doesn’t reverse on contact is a hazard to pets, kids, and anything left in the doorway. Run the test every time.
- Trying to straighten a bent track by hand. Bent tracks usually mean stressed cables and springs, and forcing the metal back can release tension unexpectedly. If the track is visibly bent, stop and call.
- Assuming the opener is the problem when the door is straining. In our experience, a struggling opener is more often a symptom of a door that’s out of balance than a failed motor. Check the door first.
- Ignoring a frayed cable. A cable with broken strands is closer to failure than it looks, and when a cable lets go the door can drop. Have it inspected before the door is used again.
Northgate’s wet winters are hard on the bottom seal and the hinges, and the seasonal use pattern means spring failures tend to cluster. A quick visual pass in the fall catches most of these before they strand you.
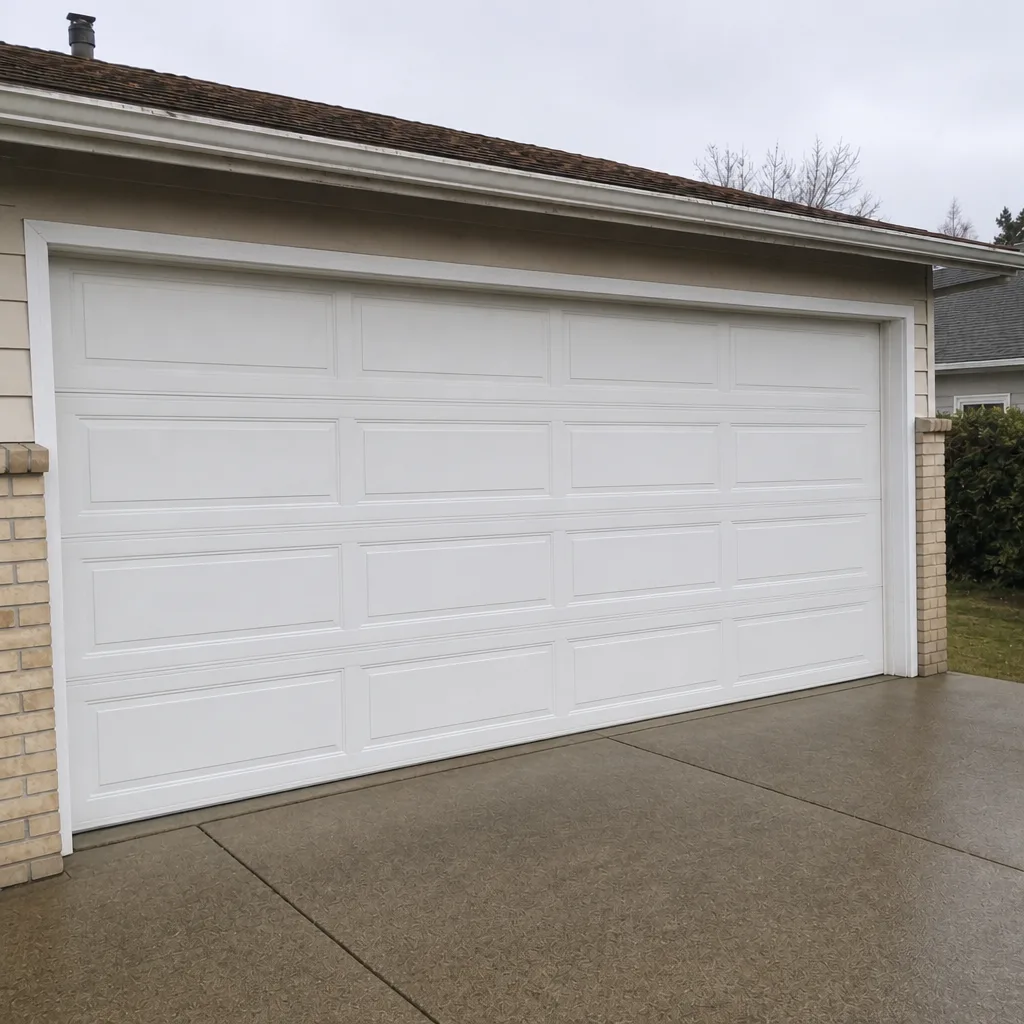
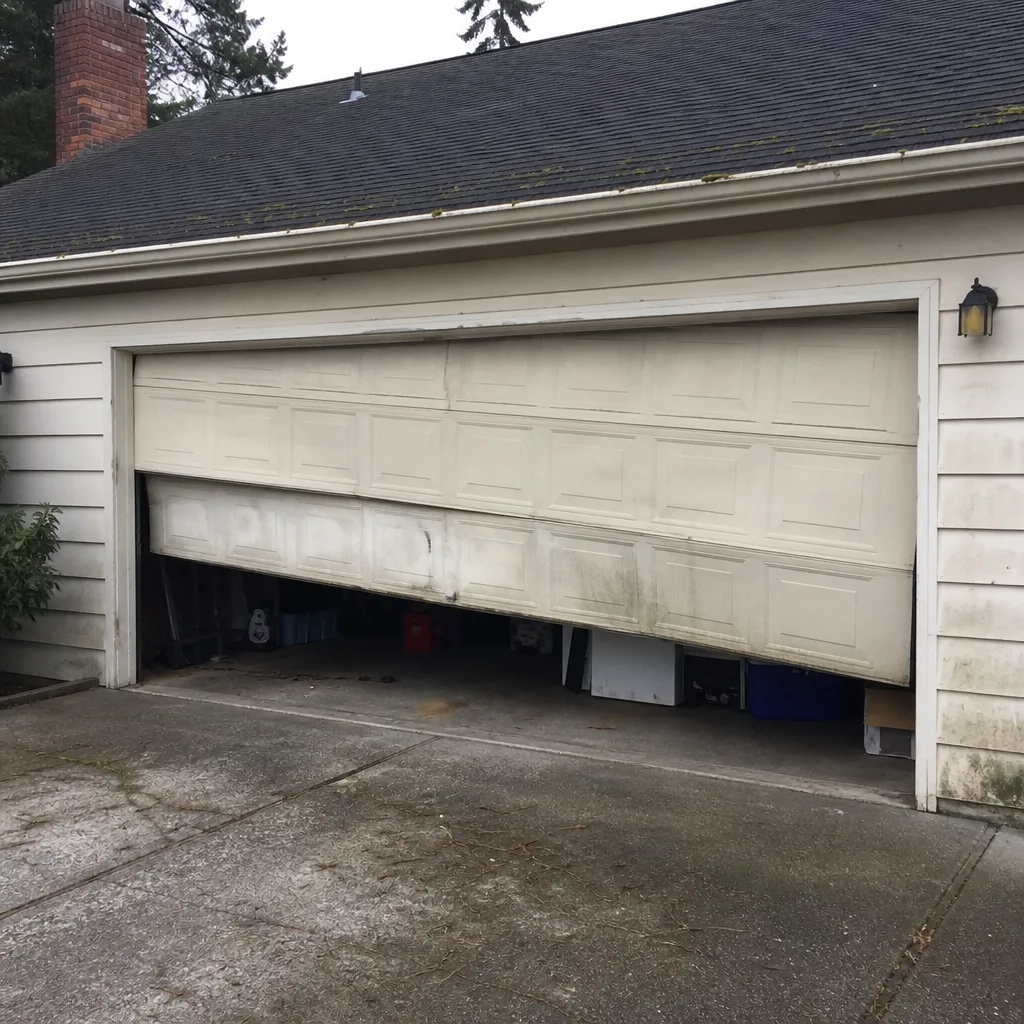
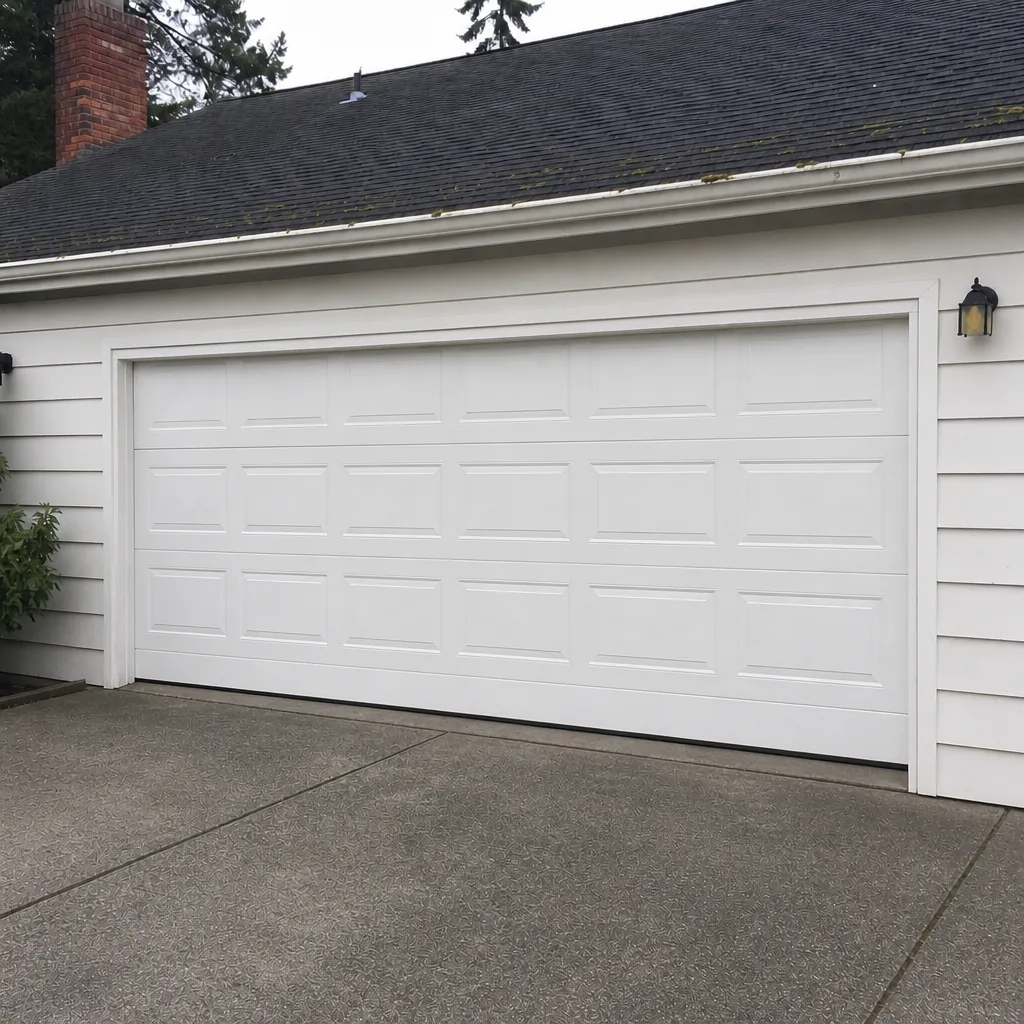
See the difference
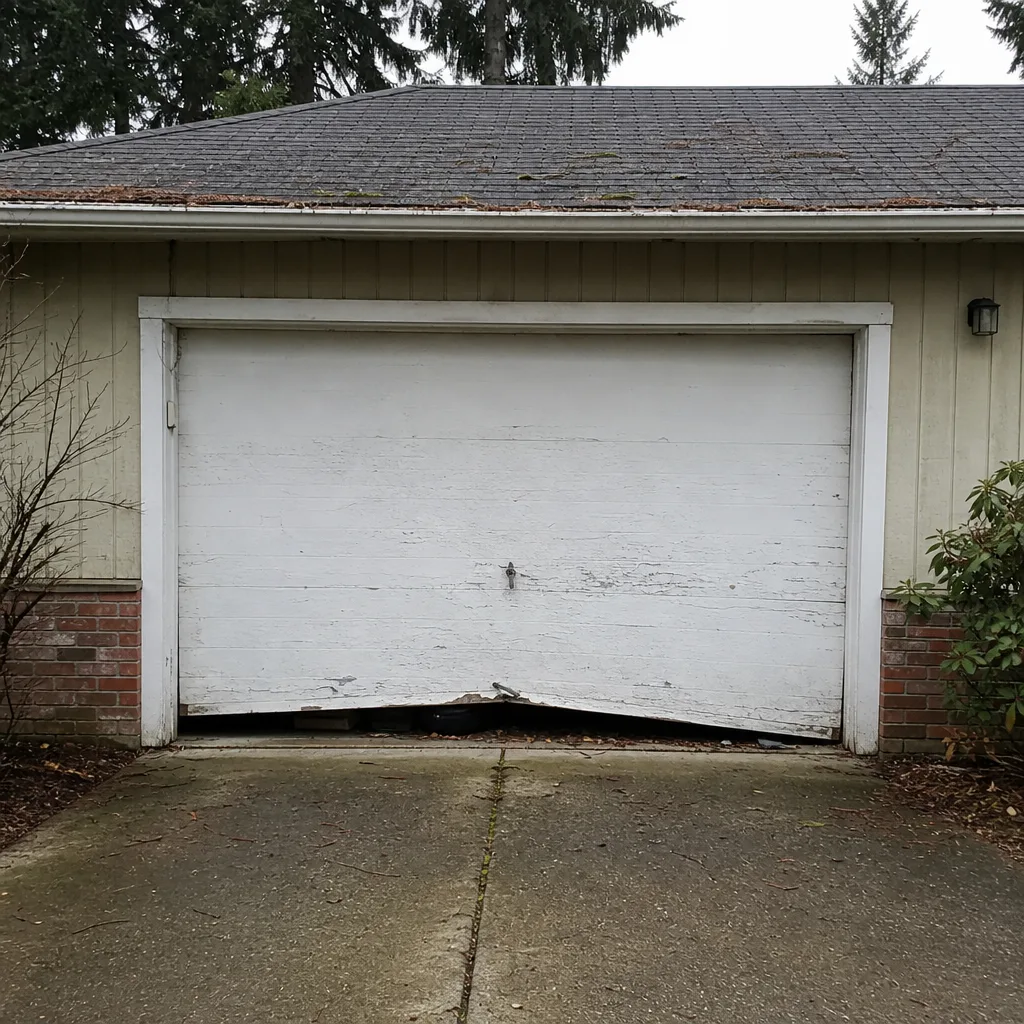 Before
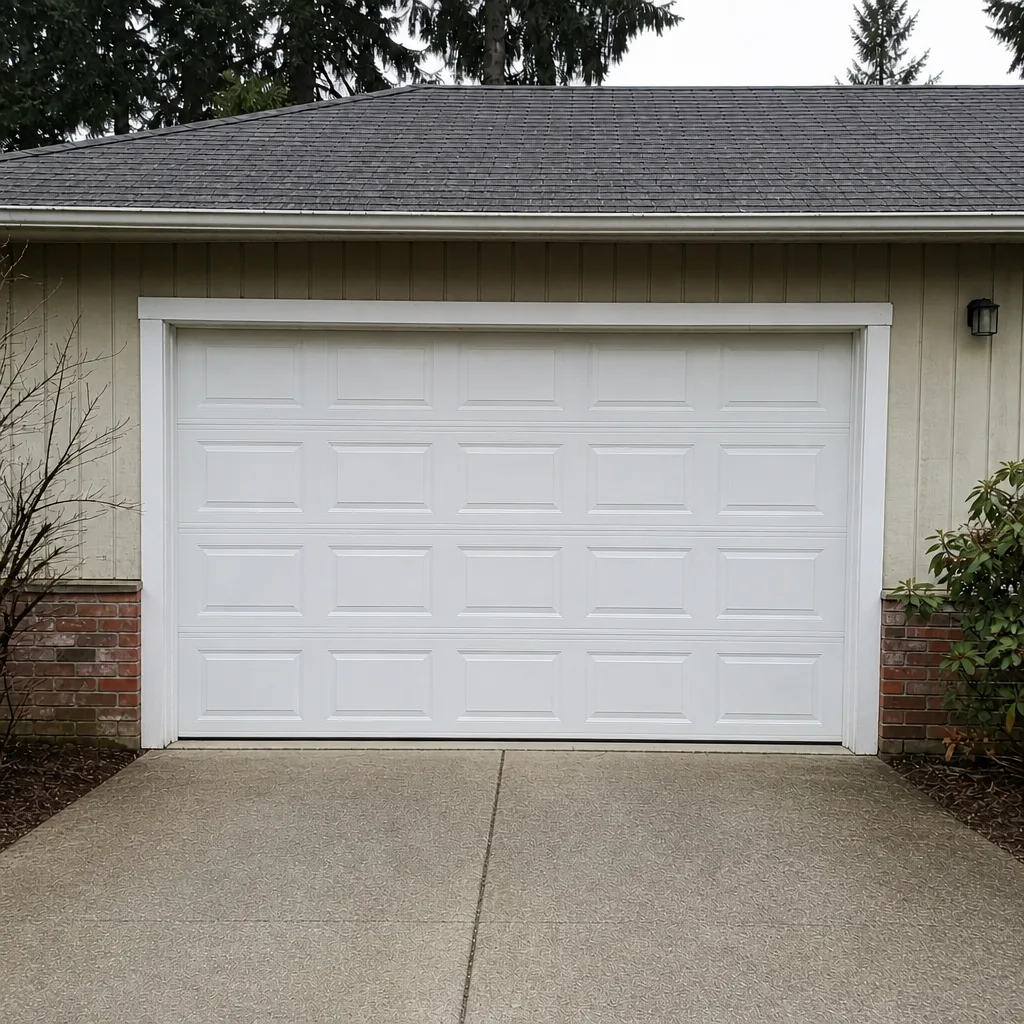 After
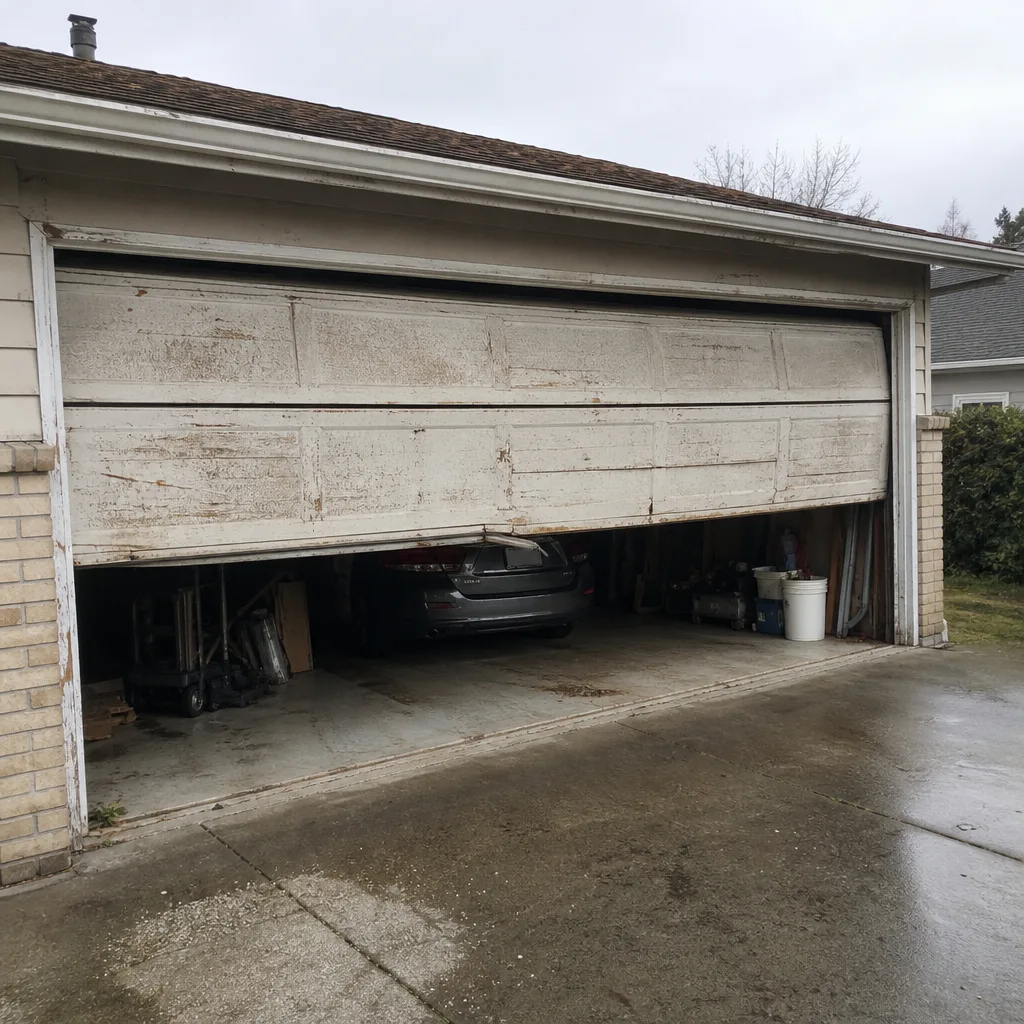 Before
 After
 Before
 After
When to Call a Professional
Call a professional whenever the task involves spring tension, cable tension, or anything that requires the door to be de-tensioned first. That includes a snapped torsion or extension spring, a cable that’s come off its drum, a door that’s hanging crooked or landing hard, and any repair where the door needs to be wound or unwound. Call us if an opener install has gone sideways or if you’re not sure the safety reverse is working. And call if the door has suffered a major impact and the track is bent, because the visible damage usually isn’t the whole story. Garage Door Repair Northgate offers free estimates in Northgate, and our technicians have up to 13 years of experience working on the brands already in your garage. Call (844) 685-3487 and we’ll tell you honestly whether your problem is one you can handle.
Frequently Asked Questions
No. Torsion and extension springs store enough energy to cause serious injury if they release unexpectedly, and replacement requires special winding bars and training to do safely. Spring replacement is a professional-only job. Call (844) 685-3487 for a free estimate on spring repair in Northgate.
Photo-eye alignment, bottom seal replacement, remote and keypad programming, lubricating hinges and rollers on a released door, and routine visual inspections are all reasonable DIY tasks. Anything that touches spring or cable tension belongs with a technician. If you’re unsure which category a task falls into, call us and we’ll tell you.
It can. Many opener manufacturers require installation by a qualified technician to keep the parts warranty intact, and a self-installed unit that fails may be denied coverage. The exact terms vary by brand, so check your specific unit’s documentation. If you’d like the install done right, call (844) 685-3487 for a free estimate.
Torsion springs are matched to your door’s weight, shaft diameter, and winding direction, and a generic shelf spring rarely matches all three. Wire gauge, inside diameter, length, and cone color code all have to line up. A spring that doesn’t match won’t balance the door and can fail early. Our technicians match the part to your specific door.
Yes, as long as a technician has already released the spring tension and cleared the tracks. Removing and disposing of the old panels is a legitimate way to reduce the total cost of a new door installation. The spring release and the new install both stay with the professional. Call (844) 685-3487 to plan the split.
Usually, yes. A door that reverses before it reaches the floor is most often a misaligned or dirty photo eye at the base of the frame. Wipe the lenses and check that the indicator lights are solid. If realigning the sensors doesn’t fix it, the problem may be in the opener logic or the door balance, and that’s worth a professional look.
It matters for parts and programming, yes. LiftMaster, Chamberlain, Genie, and Craftsman units each have their own pairing procedures and part numbers. We work on all four, along with the door brands that pair with them, so we’re not guessing at unfamiliar hardware. Call (844) 685-3487 if you’re not sure what you have.
The Bottom Line
The DIY versus professional question for garage doors isn’t about whether you’re handy. It’s about whether stored spring tension is in play. Photo eyes, bottom seals, remotes, and lubrication are yours to handle. Springs, cables, and any repair that requires the door to be wound or unwound belong with a trained technician, because the consequences of getting tension wrong don’t scale with confidence. Northgate homeowners who keep that line clear get the best of both: the small jobs done on their own schedule, and the dangerous ones handled safely. When in doubt, call (844) 685-3487 for a free estimate and an honest answer.
Written by the team at Garage Door Repair Northgate.